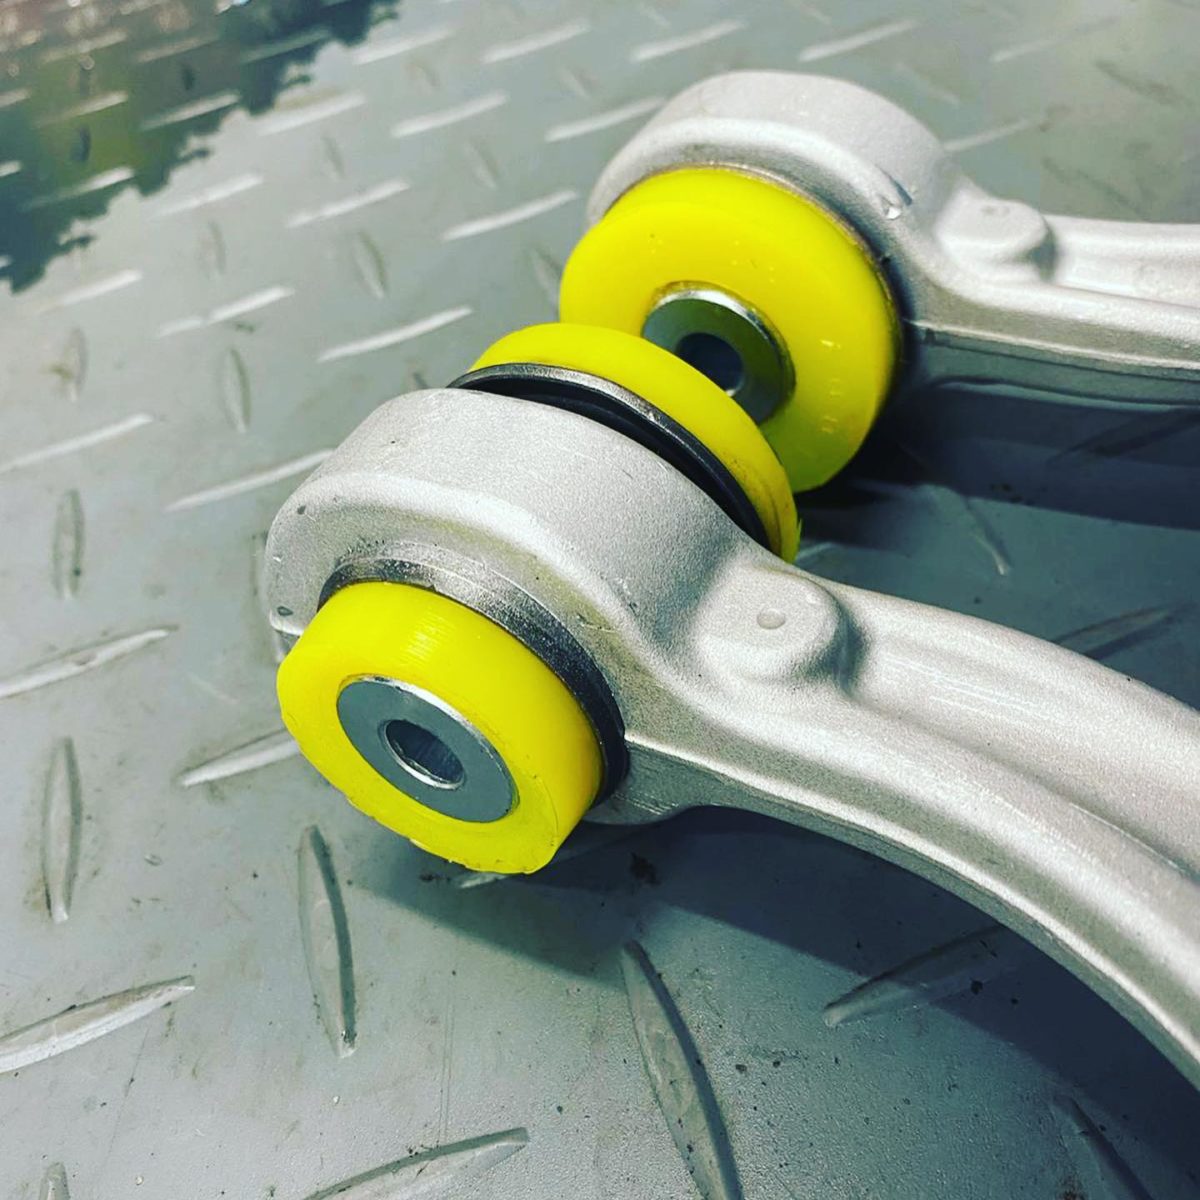
Are you experiencing excessive vibration, steering wander, or uneven tire wear in your vehicle? Worn-out control arm bushings might be the culprit. While replacing them may seem like a daunting task, with the right tools and knowledge, you can tackle this project like a pro. Here’s a step-by-step guide to help you replace control arm bushings yourself:
1. Gather the Necessary Tools and Parts:
- Replacement control arm bushings (ensure they match your vehicle’s make and model). You can check fitment by application or OEM on our catalog or provide VIN (Vehicle Identification Number), and we will perform a thorough check to ensure you select the right part.
- Jack and jack stands
- Wrench set (including sockets and ratchets)
- Breaker bar
- Ball joint separator
- Hammer
- Bushing removal tool or press
- Lubricant
- Torque wrench
- Safety gloves and goggles
2. Lift and Secure Your Vehicle:
- Park your vehicle on a level surface and engage the parking brake.
- Use a jack to lift the vehicle and support it securely with jack stands. Ensure the vehicle is stable and won’t shift during the repair process.
3. Remove the Wheel and Access the Control Arm:
- Loosen the lug nuts on the wheel that corresponds to the control arm you’re working on.
- Lift the vehicle using the jack and remove the wheel to access the control arm.
4. Disconnect the Control Arm:
- Use a wrench and socket set to remove the bolts securing the control arm to the chassis and the wheel hub.
- If necessary, use a ball joint separator to disconnect the ball joint from the control arm.
5. Remove the Old Bushings:
- Depending on the design, you may need to use a bushing removal tool or press to extract the old bushings from the control arm.
- Apply lubricant to facilitate the removal process and prevent damage to the control arm.
6. Install the New Bushings:
- Ensure the new bushings are the correct size and type for your vehicle.
- Use a bushing press or tool to carefully install the new bushings into the control arm.
- Make sure the bushings are properly aligned and seated securely.
7. Reassemble the Control Arm:
- Reconnect the control arm to the chassis and wheel hub, ensuring all bolts are tightened to the manufacturer’s specifications.
- If applicable, reattach the ball joint to the control arm.
8. Reinstall the Wheel and Lower the Vehicle:
- Put the wheel back on and hand-tighten the lug nuts.
- Carefully lower the vehicle to the ground using the jack.
- Tighten the lug nuts with a torque wrench to the specified torque value.
9. Test and Adjust as Needed:
- Take your vehicle for a test drive to ensure everything is functioning properly.
- If necessary, adjust the alignment or revisit any steps that may require further attention.
10. Safety Precautions:
- Always prioritize safety when working on your vehicle. Use jack stands to support the vehicle and wear safety gloves and goggles to protect yourself from injury.
By following these steps and exercising caution, you can replace control arm bushings in your vehicle with confidence. However, if you’re uncomfortable with any aspect of the process or encounter unexpected challenges, don’t hesitate to seek professional assistance. Your safety and the proper functioning of your vehicle are paramount.

